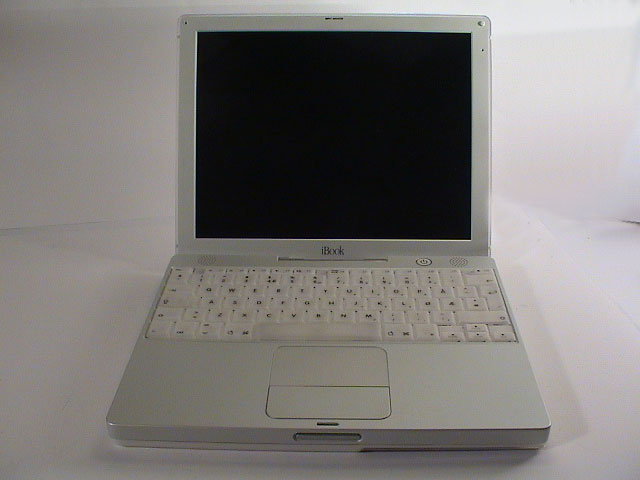
iBook Hard Drive Replacement
Changing the hard drive in a iBook is far from the normal procedure for a regular PC laptop. The hard drive is an intergrated part of the system and thus requiring a lot more work to get to.
I'm going to install a new and faster Seagate 40 GB hard drive; 5400 vs 4200 RPM, 2 MB vs 8 MB cache and the equal power usage. Approx installation time is about 1-2 hours, depending on previous experience.
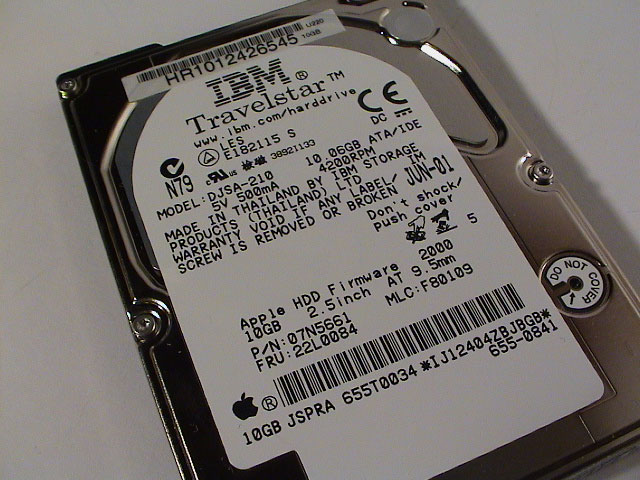
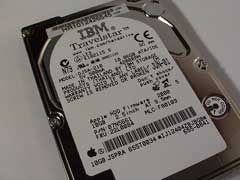
Old: IBM Travelstart 20GN 10 GB (Apple branded)
- Model: DJSA-210
- Size: 10.06 GB
- Rotation: 4200 RPM
- Cache: 512 KB
- Interface: IDE UDMA/66 - ATA-4
- Form factor: 2.5"
- Average seek time: 12.0 ms
- Power usage (W): 2.3/2.0/2.1 (seek/read/write)
- Size: 70.0 x 100.0 x 9.5 mm (WxDxH)
- Weight: 99.0 grams
- Manufacturered: 1st June 2001
- Download datasheet
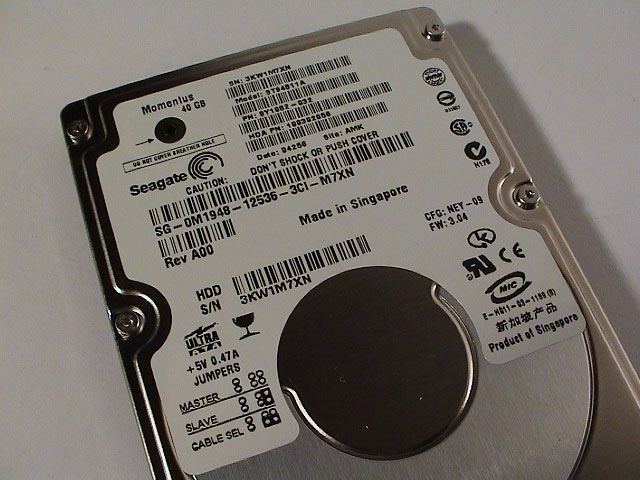
New: Seagate Momentus 40 GB
- Model: ST94811A
- Size: 40 GB
- Rotation: 5400 RPM
- Cache: 8 MB
- Interface: IDE UDMA/100 - ATA-5
- Form factor: 2.5"
- Average seek time: 12.0 ms
-
- Power usage (W): 2.4/2.4/2.4 (seek/read/write)
- Size: 69.85 x 100.2 x 9.5 mm (WxDxH)
- Weight: 99.0 grams
- Manufacturered: Sometime late 2004, datecode: 94256
- Download datasheet
The new drive can not be higher than 9.5 mm. Drives larger than 40 GB usually contains more internal disks and is then a bit higher.
Apple iBook Dual USB Service Manual
Installation
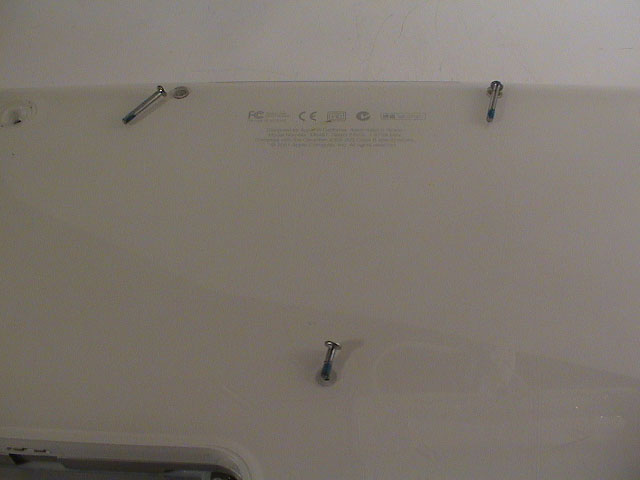
While disassembling it's a good pratice to group the parts into separate sections, i.e. screws for the bottom case, the feets and the case itself into one group.
Airport And Keyboard
 |
 |
 |
| Remove the Airport card if you have one. |
Remove the two screws holding the RAM expansion brezel in place. |
Then the brezel is removed use a small screwdriver to remove the black bar holding the keyboard ribbon cable. |
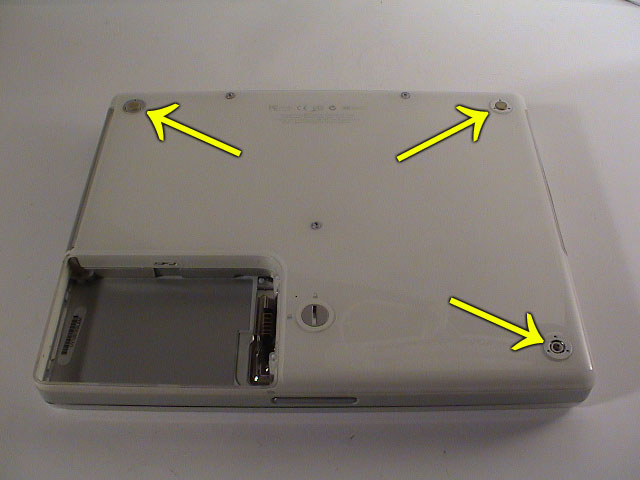
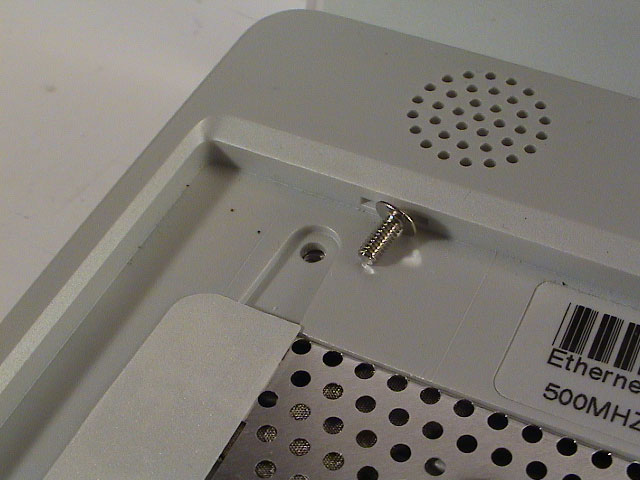
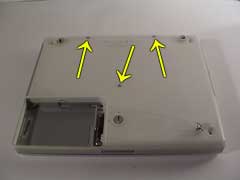
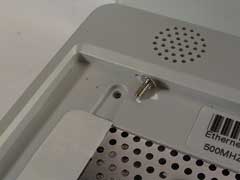
Bottom Case
 |
 |
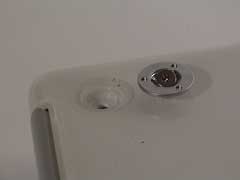 |
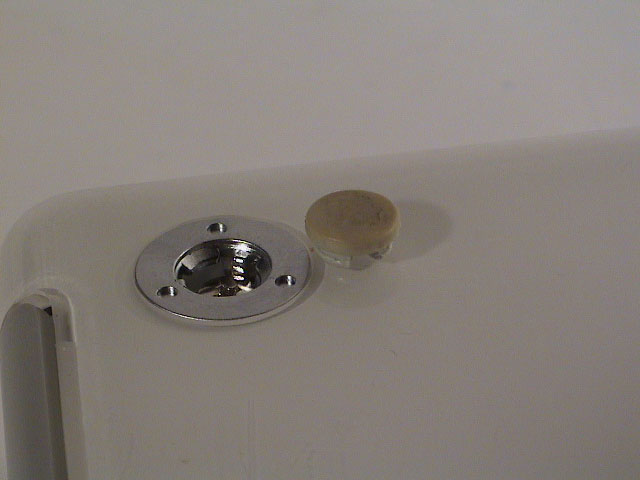
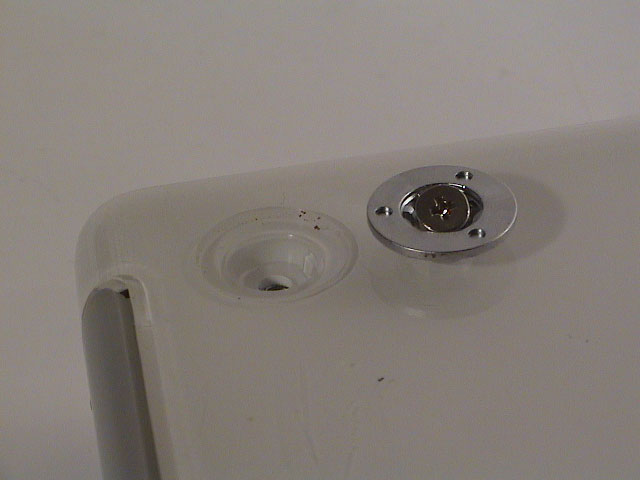
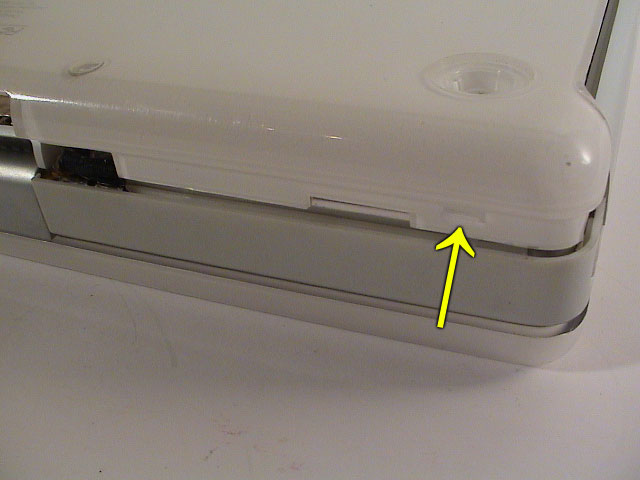
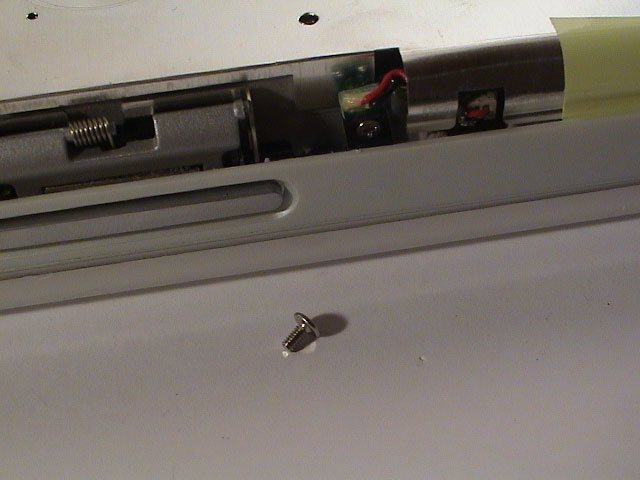
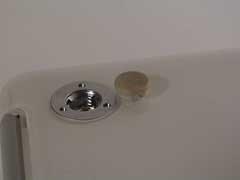
| Remove the rubber feets using a small screwdriver or stick. |
Press the screwdriver or stick into the bottom where the screw is and it will pop up easily. Remove the screws. |
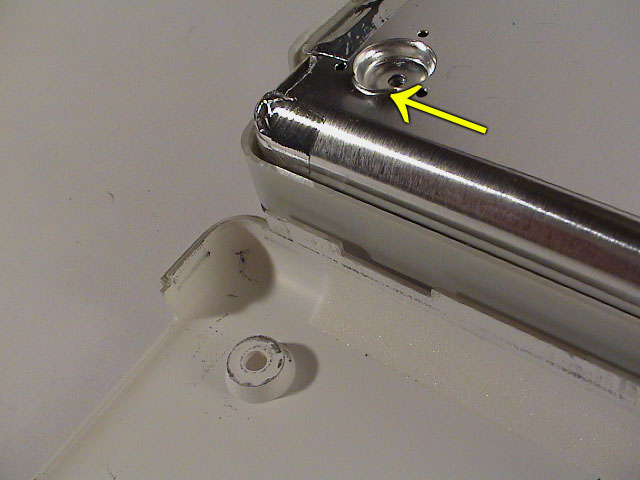
Screw and metal ring removed. |
 |
 |
 |
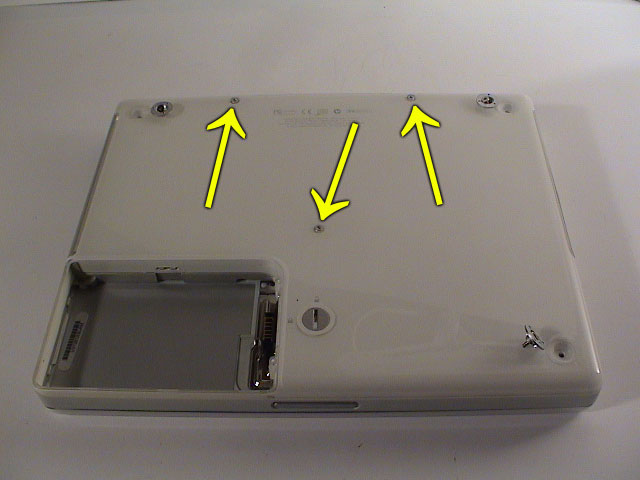
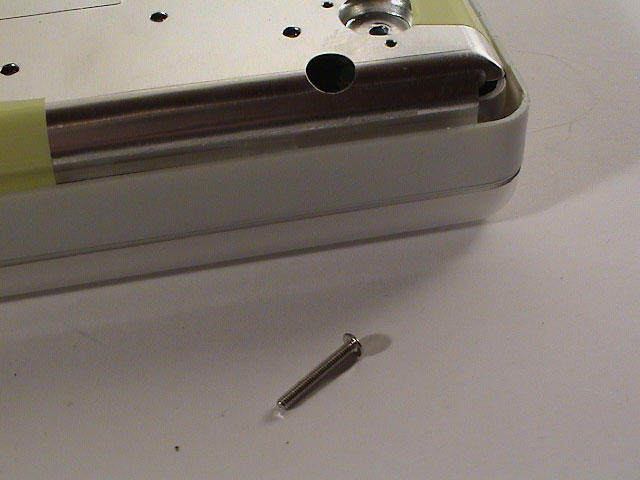
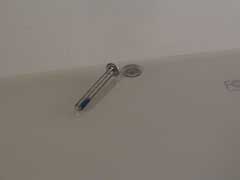
| Remove the three screws in the centre and top using a T8 torx screwdriver. |
These are a bit longer. |
Screws removed. |
 |
 |
 |
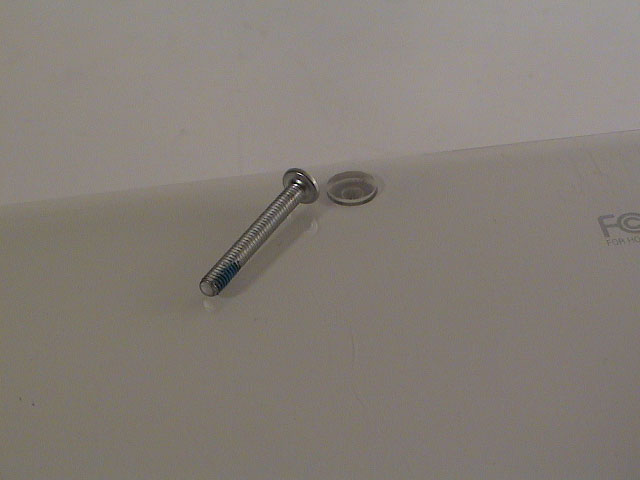
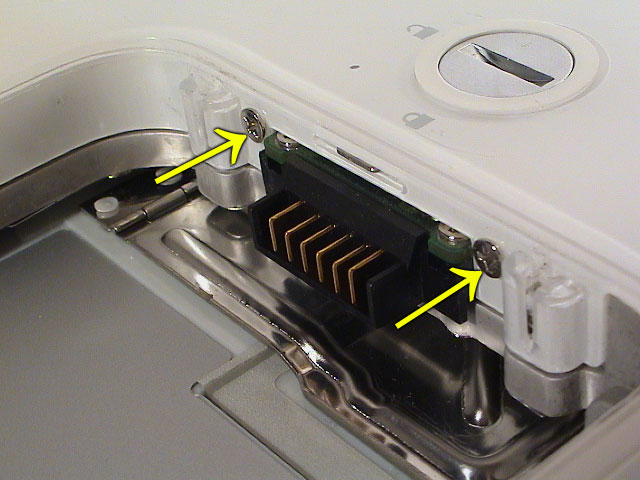
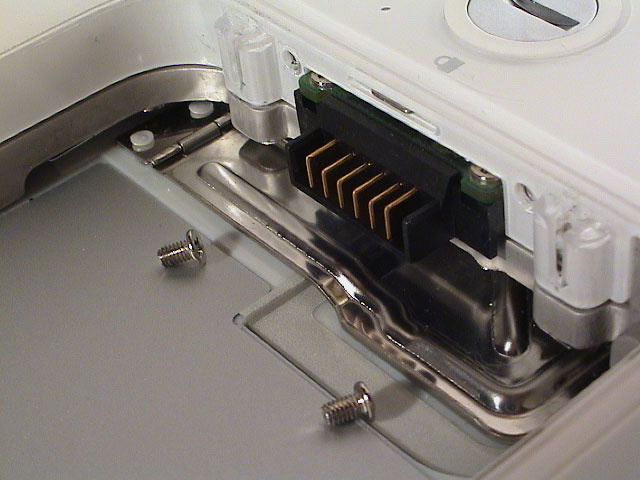
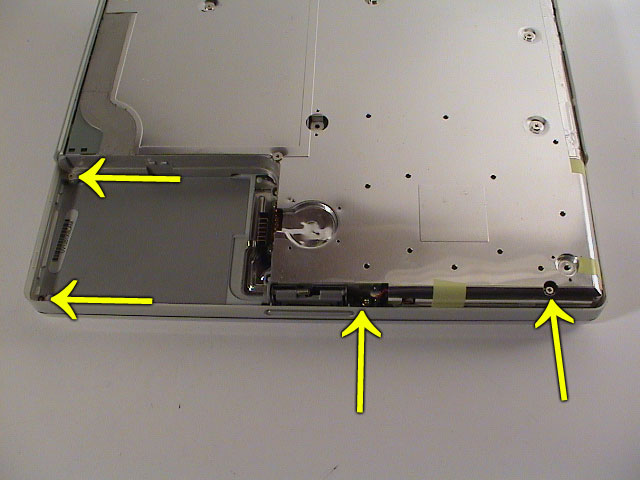
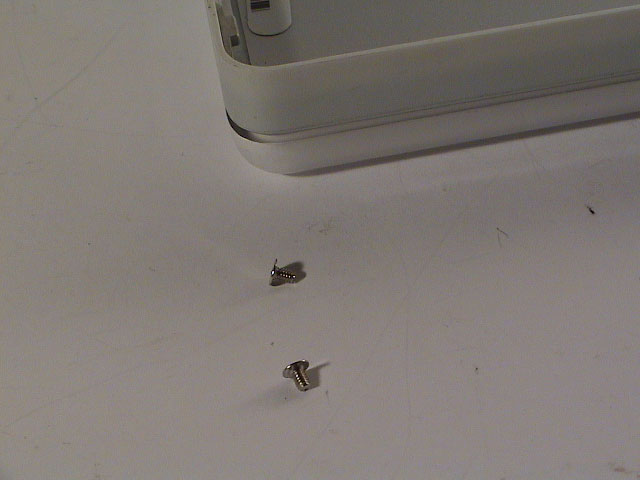
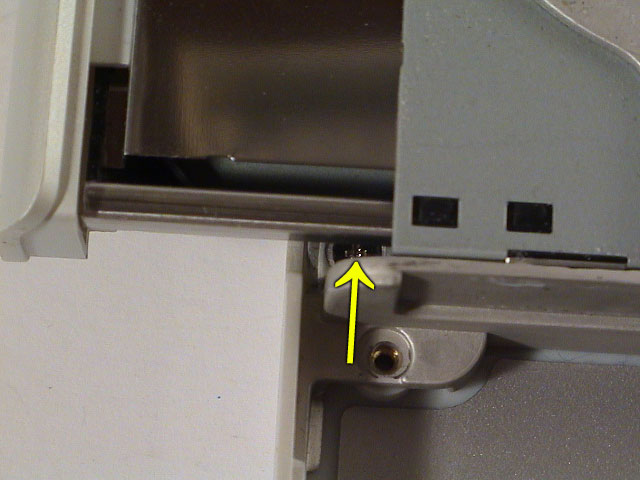
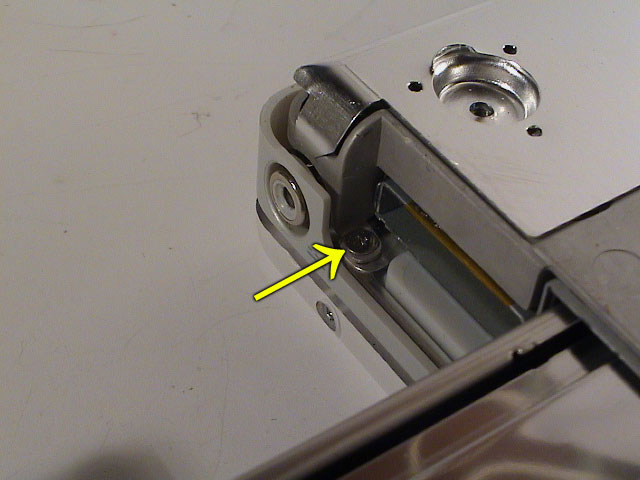
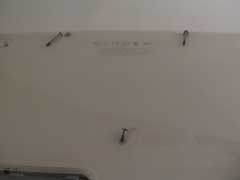
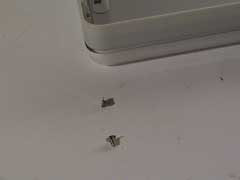
| Remove the screws next to the battery connector. |
Screws removed. |
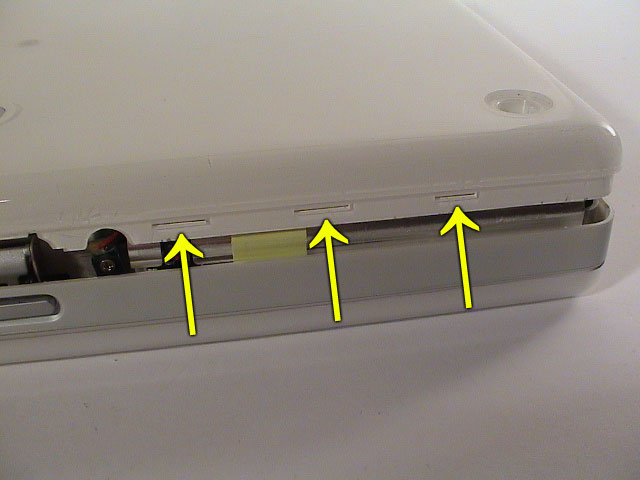
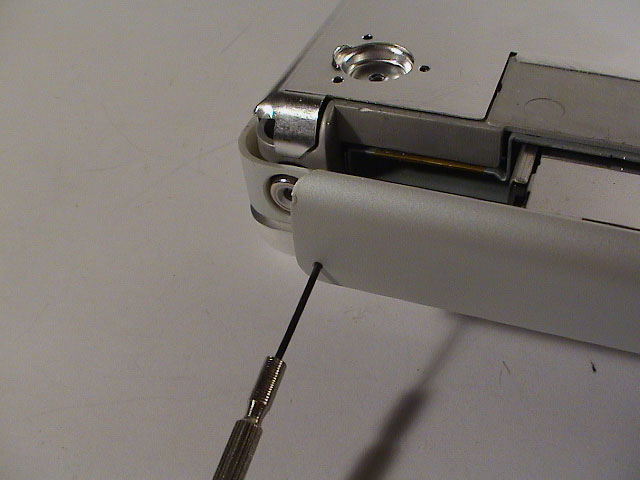
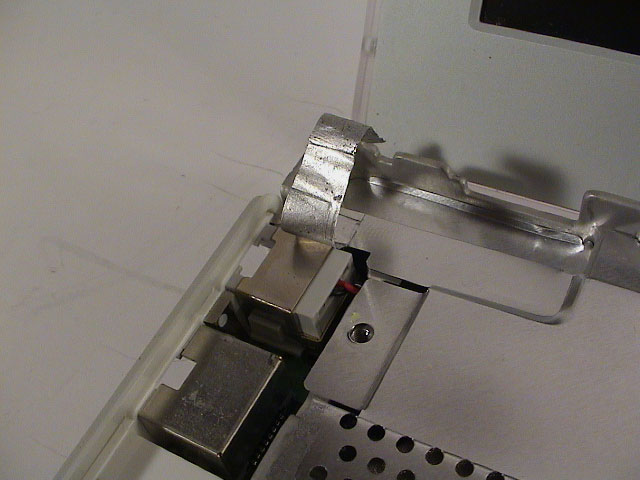
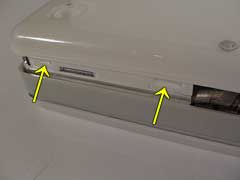
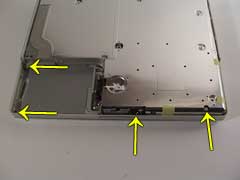
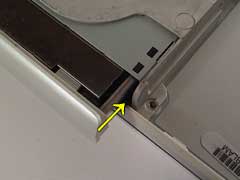
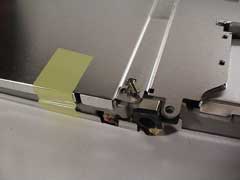
Now it gets a bit harder, press where to two lower arrows point and then use a small screwdriver or stick to bend the upper tab over the lock. |
 |
 |
 |
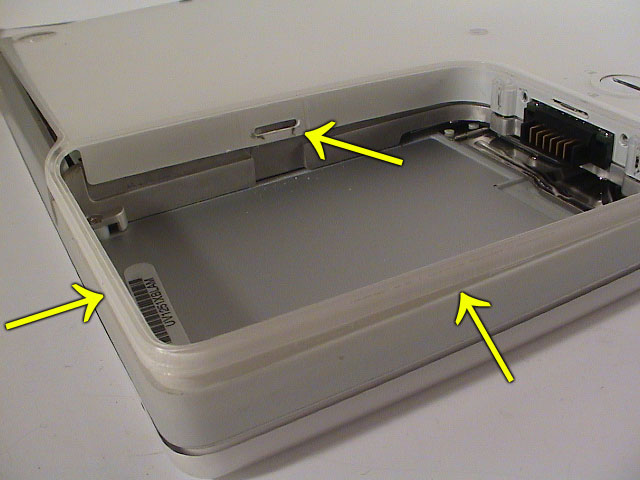
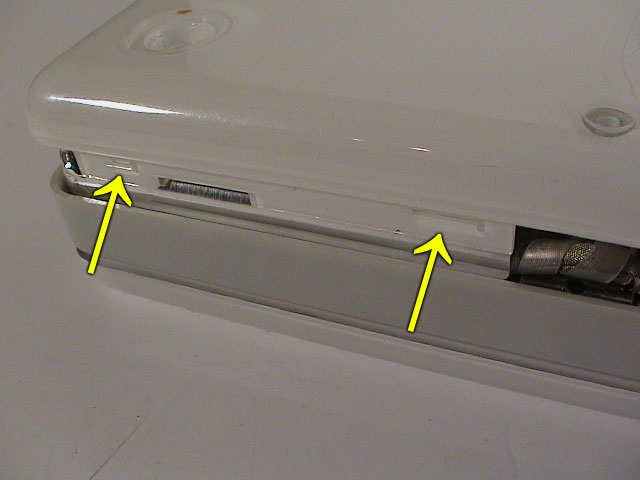
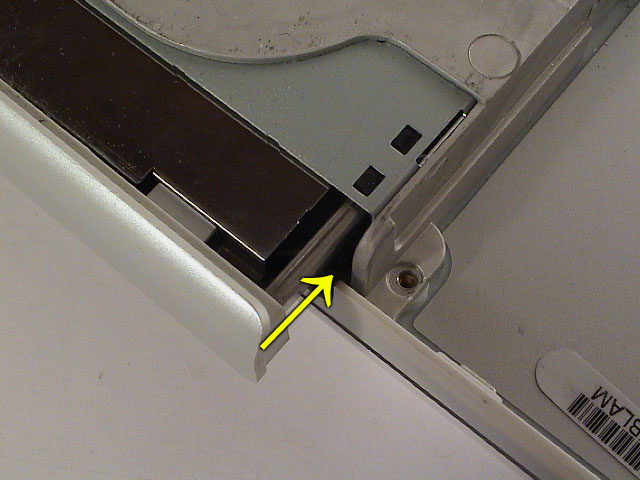
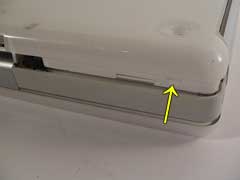
| Using a screwdriver or plastic stick, slide it along the front side untill the three tabs unlocks. This requires some force, but don't over emphasize or you'll probably break something. Watch the sleep light wire. |
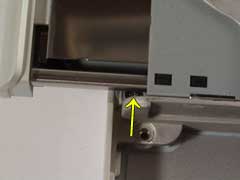
Unlock the tabs on the IO brezel side. |
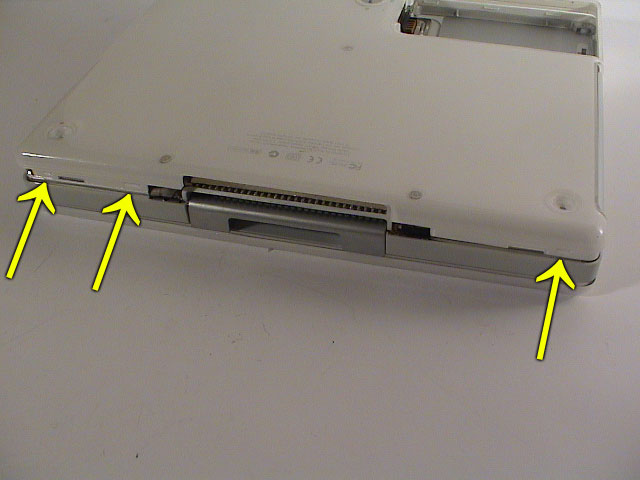
There's three more locks on the back. |
 |
 |
 |
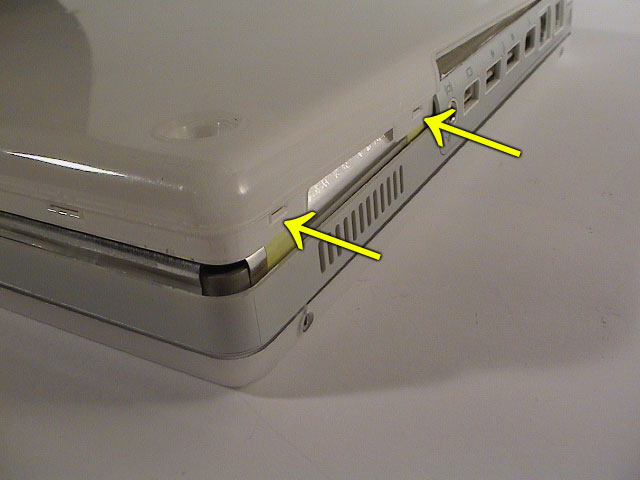
| Two one the left side. |
One on the right. |
Another method would be to bend the case back and upwards. This stresses the metal shield because the plastic screwhole touches the inside of the metal ring depression. |
Top Case
 |
 |
 |
| Remove the battery springs, try not to waste the grease. |
Four more screws to remove. |
The screws inside the battery compartment. |
 |
 |
 |
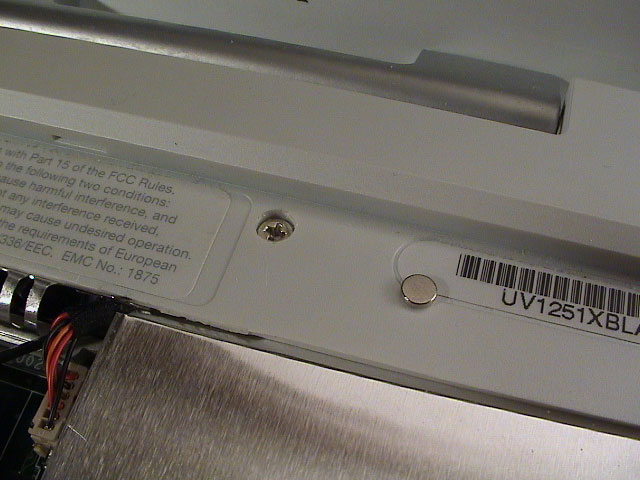
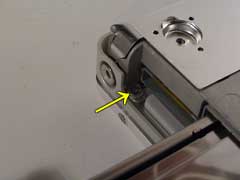
| Screw holding the sleep light. |
Right-most screw holding the top case. |
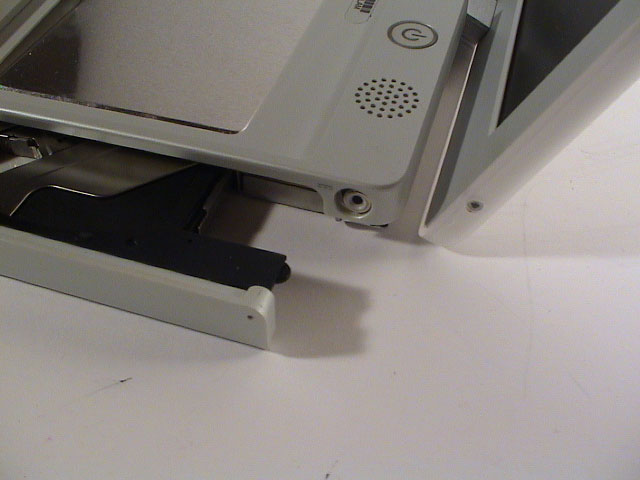
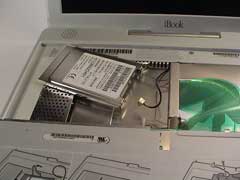
Force the optical drive to eject using a small screwdriver or paperclip. |
 |
 |
 |
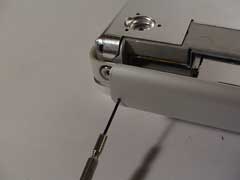
| There's a screw in a akward location inside the optical drive. |
Kinda hard to get to. Another method is to slide the tray all the way out and use the avaiable space behind the tray. |
Remove the other screw inside the optical drive. |
 |
 |
 |
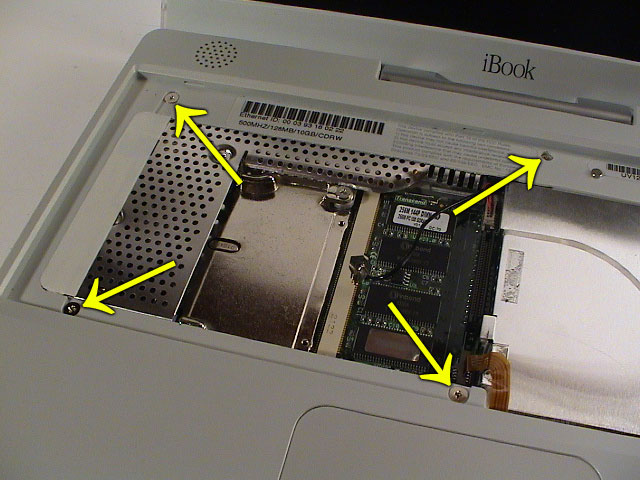
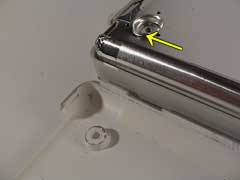
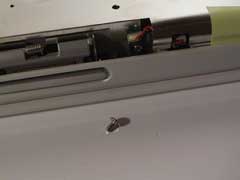
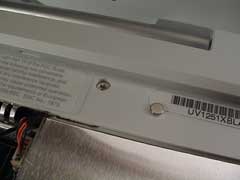
| Turn the iBook around and remove the small magnet used to hold the keyboard in position. |
Then remove the screw under the magnet in addition to three others. |
Screw removed. |
 |
 |
 |
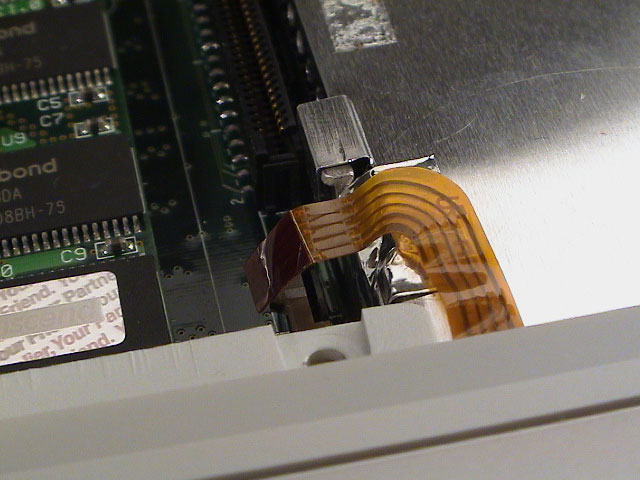
| Tear up the tape hiding the speaker cables. Don't throw this away, you need it later when re-assembling. |
Carefully pull the trackpad ribbon cable out of the connector. |
Losen the speaker cable. |
 |
 |
 |
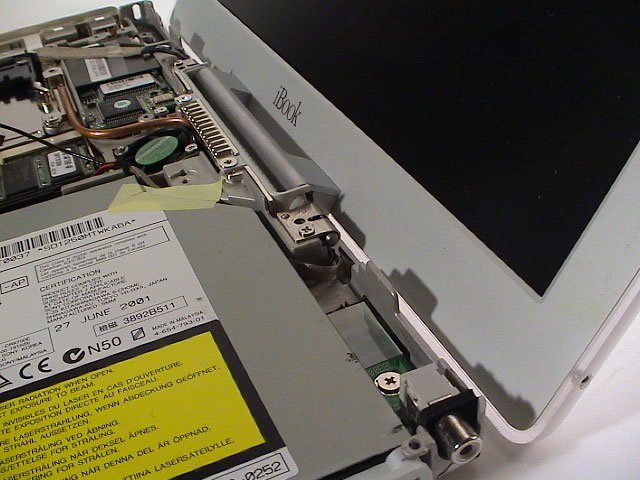
| The top case should now be free from the unit, only two wires holding it back. Eject the optical drive and pass it over the power connector to free it. |
Move the case a little so that you can disconnect the speaker cable from the motherboard. |
Speaker cable disconnected. |
 |
 |
|
| Now disconnect the power button cable. |
Power button cable disconnected. |
|
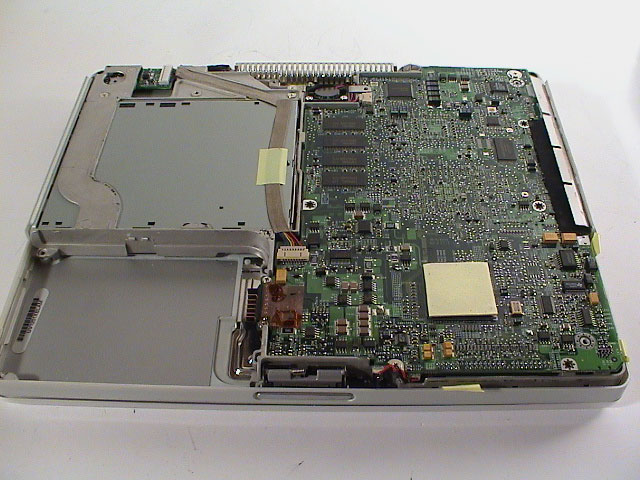
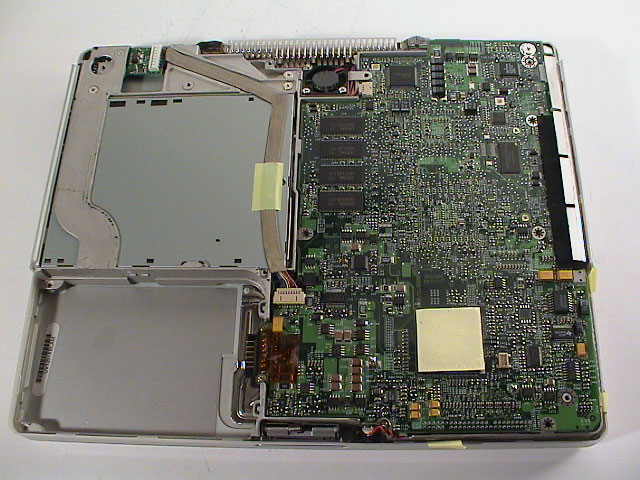
Top Metal Shield
 |
 |
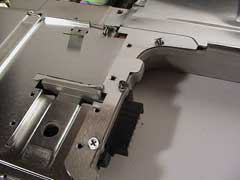 |
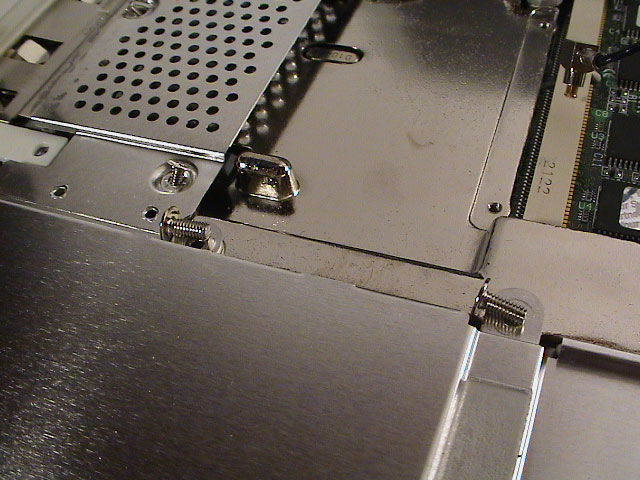
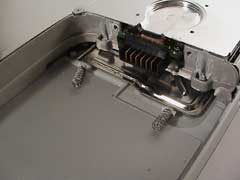
| Remove the 12 screws, yes twelve, to remove the top metal shield. |
Screw removed. |
Screws removed. |
 |
 |
 |
| Screws removed. |
Screws removed. |
Screws removed. |
 |
 |
 |
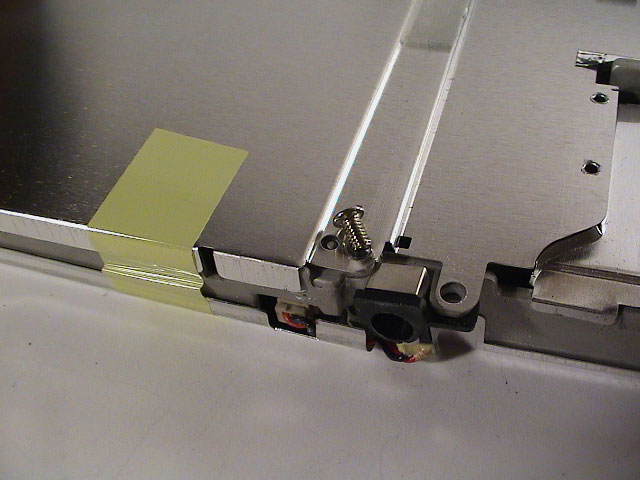
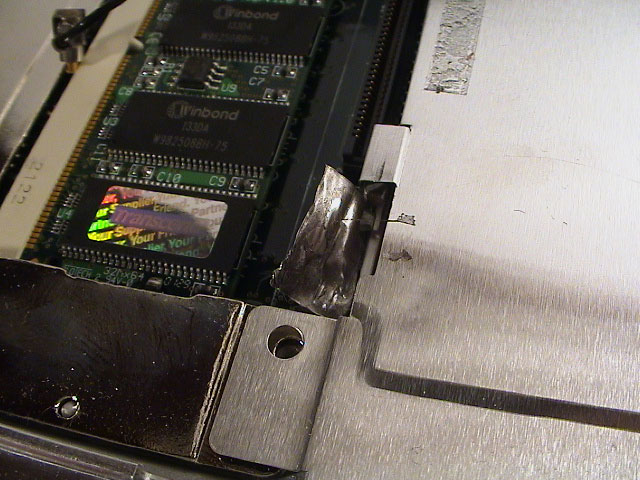
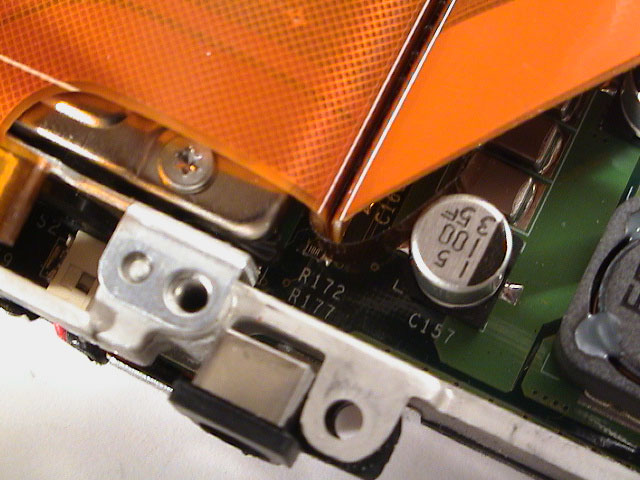
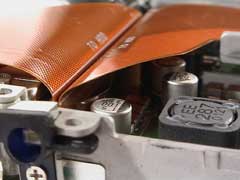
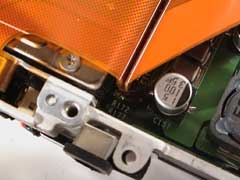
| Peal the three yellow tapes away but not entirely just enough to free the metal shield. |
Lift the tape covering the modem and ethernet ports. |
Peal away the tape next to the trackpad connector. |
 |
|
|
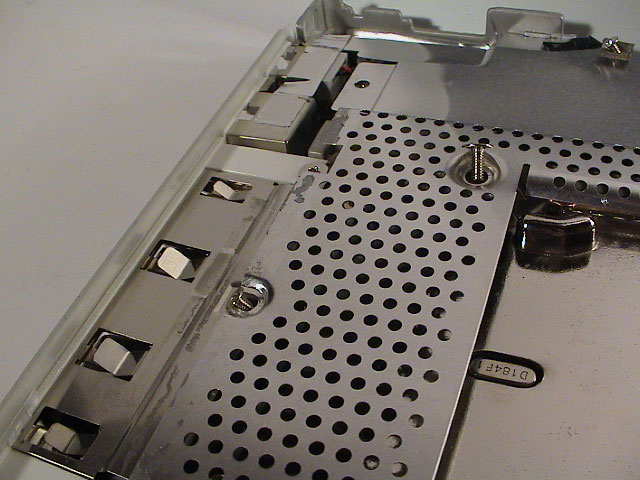
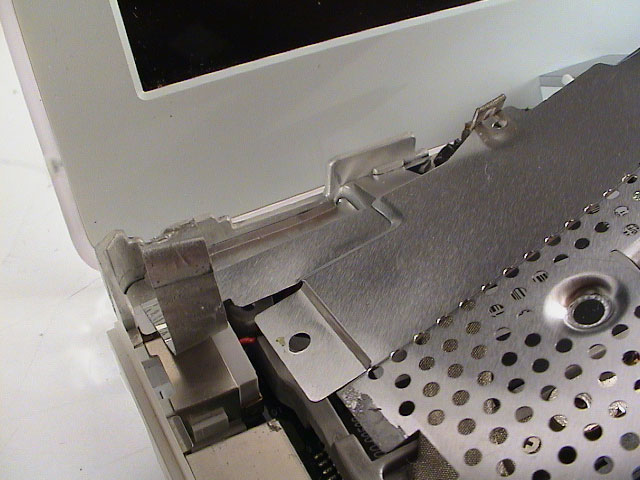
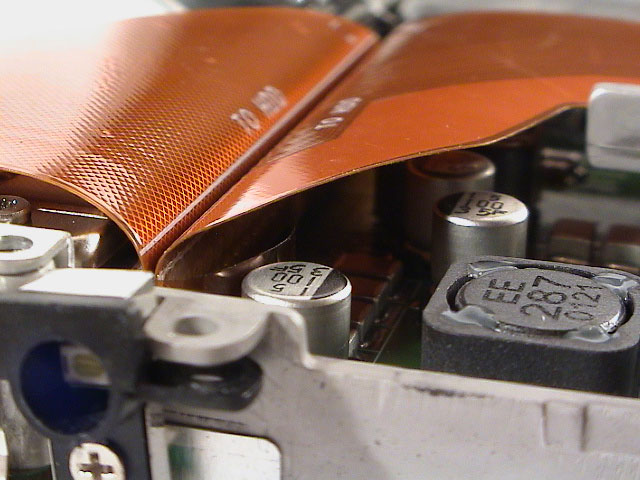
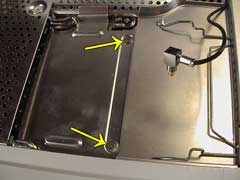
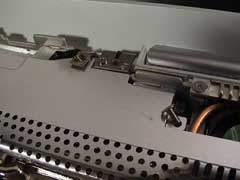
| Lift the metal shield and push from beneath to relase it in the upper-left corner, without bending it too much. |
|
|
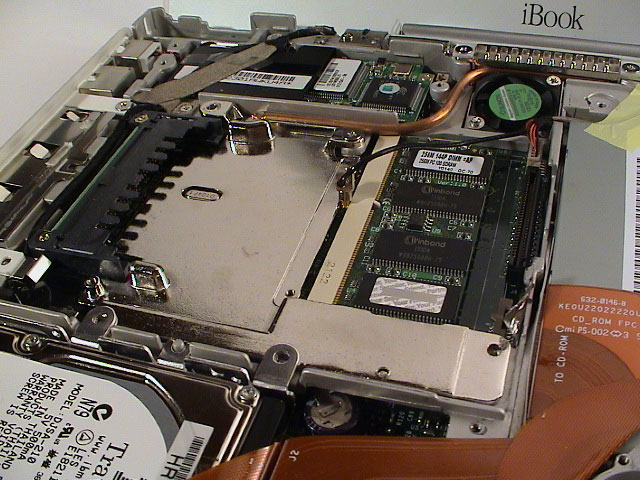
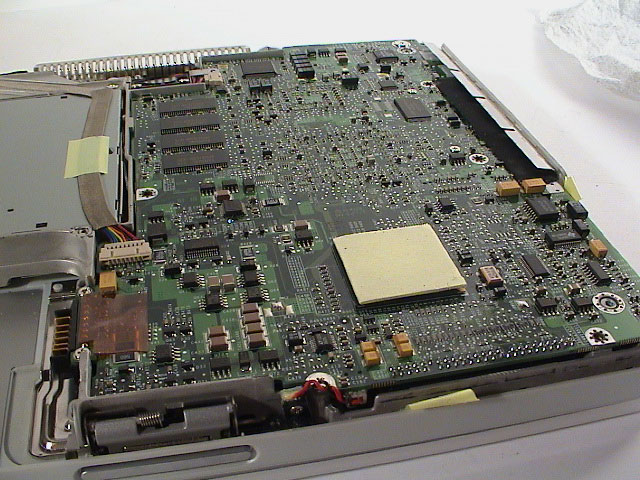
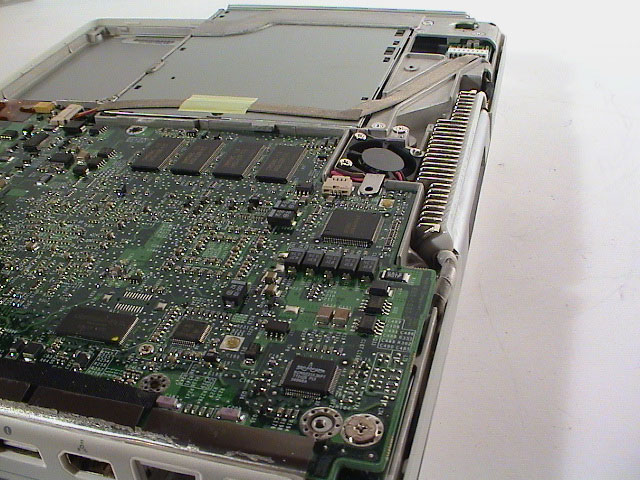
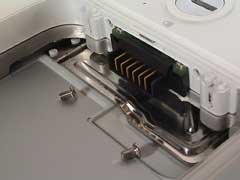
Overview Top
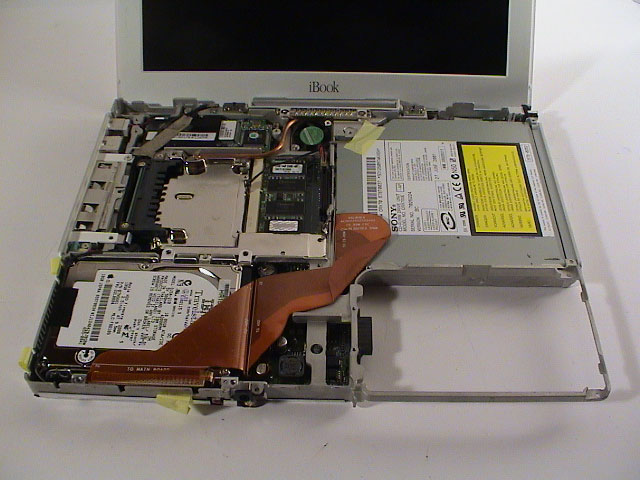
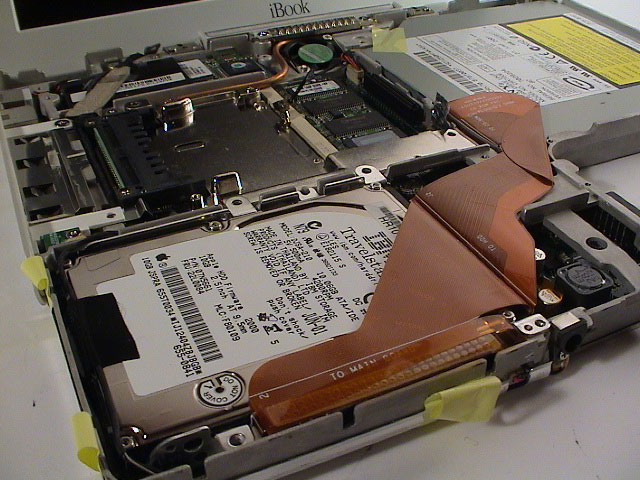
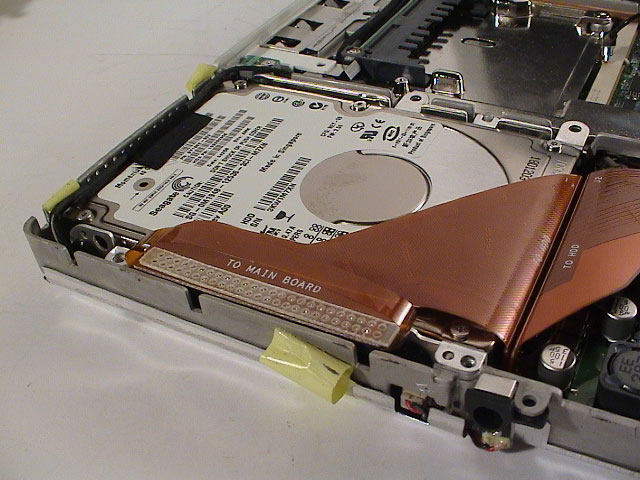
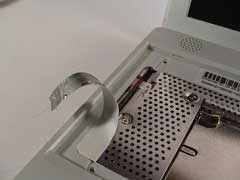
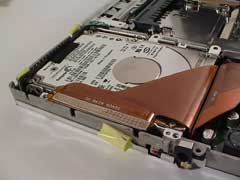
Removing Hard Drive
 |
 |
 |
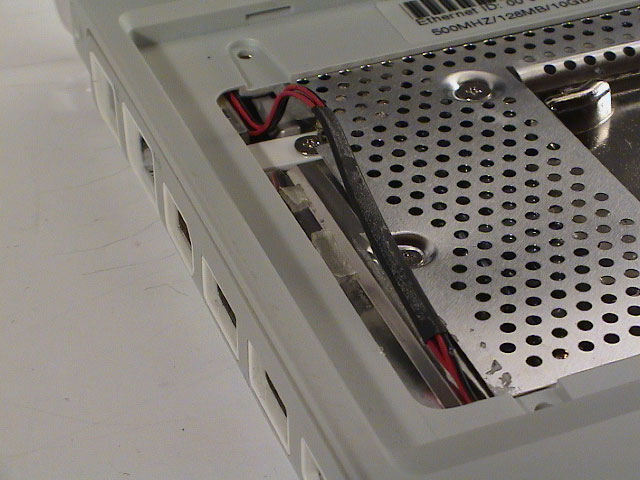
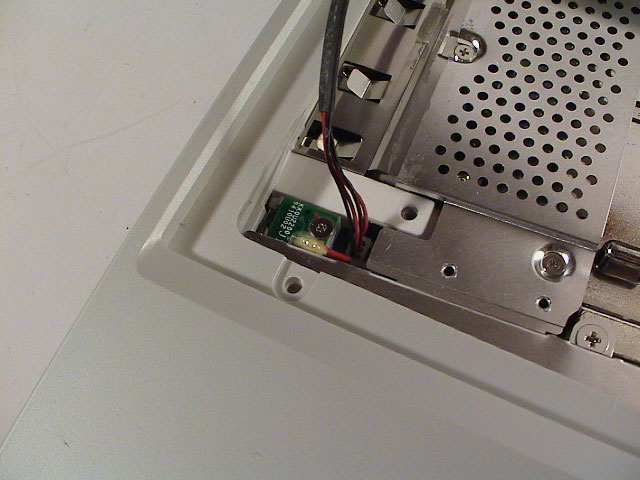
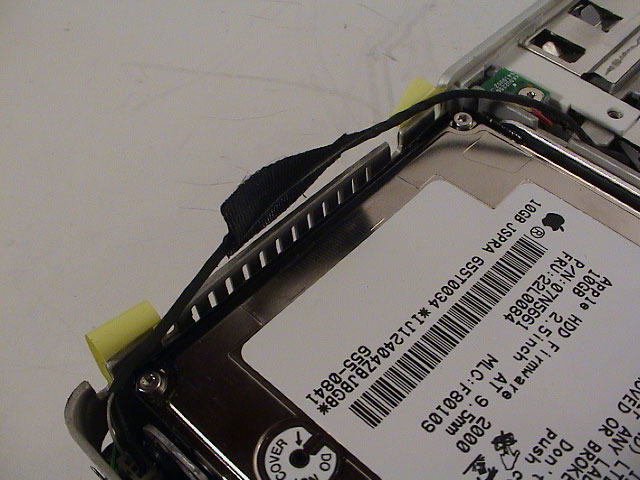
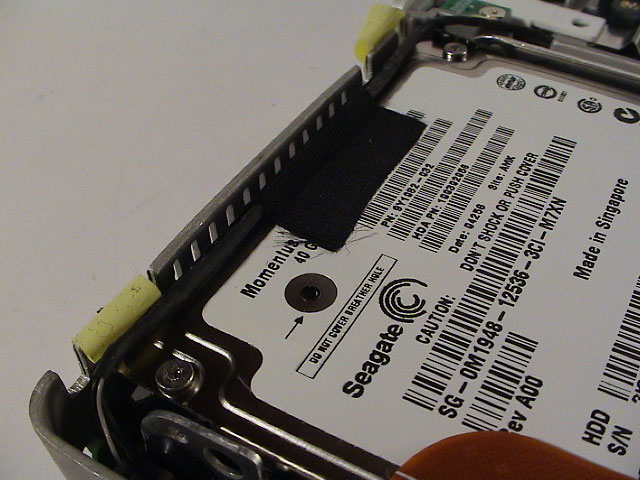
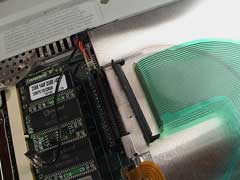
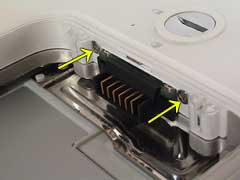
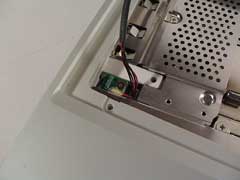
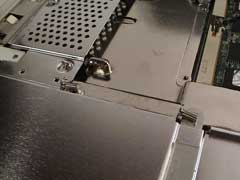
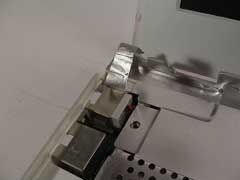
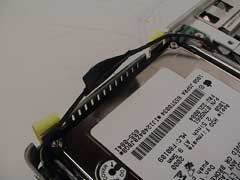
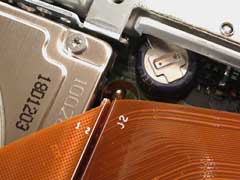
| Remove the microphone cable from the back of the hard drive. |
Pull the plastic loop to disconnect the ribbon cable. It should easily disconnect. |
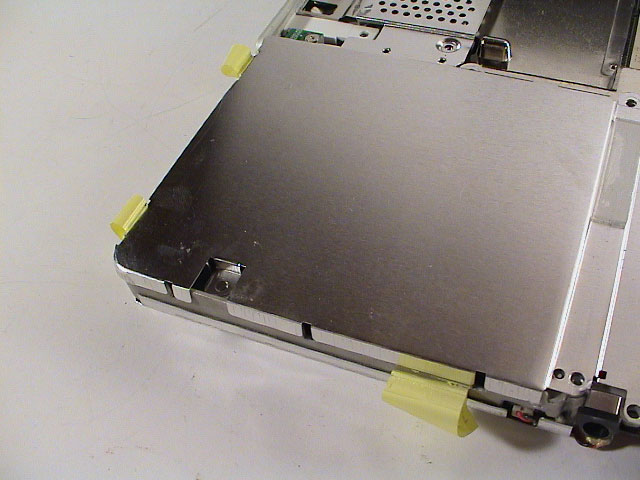
Lift the hard drive out of the casing. It's not fastened to anything, just floating on rubber feets. |
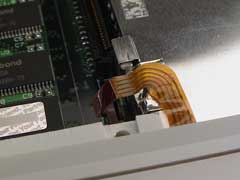
 |
|
|
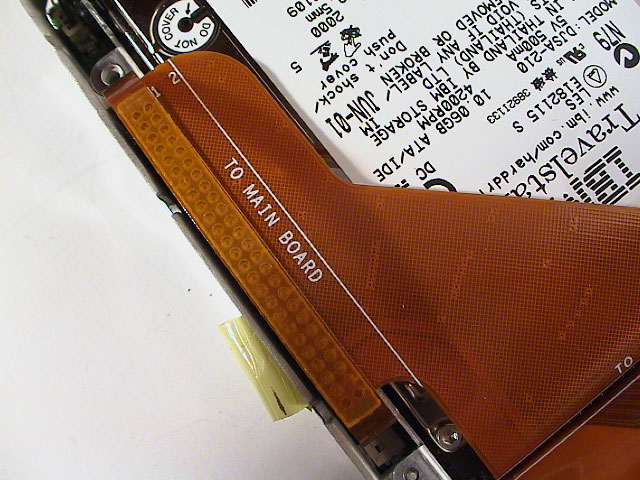
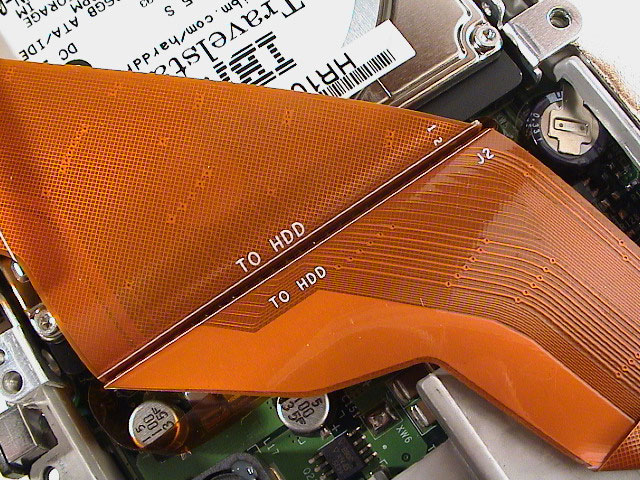
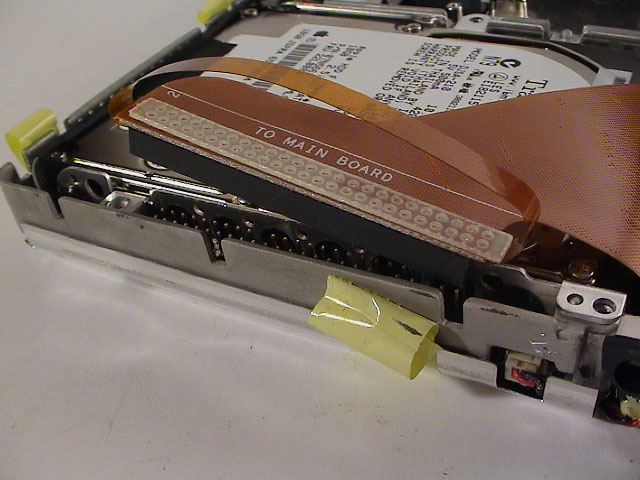
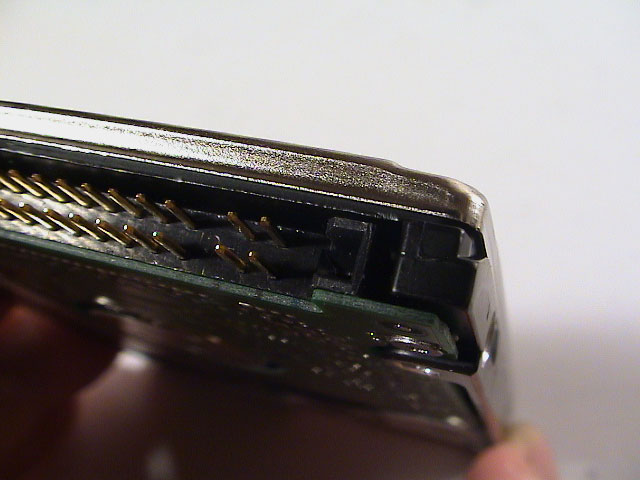
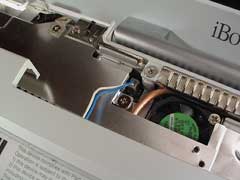
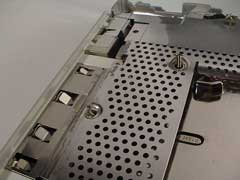
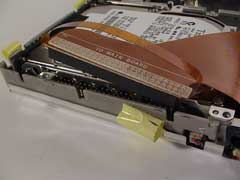
| Without bending the ribbon cable too much, carefully yank the connector from the hard drive. If it won't move, use a small screwdriver or stick to yank it parallelly till it falls off by itself. Avoid bending the connector pins. |
|
|
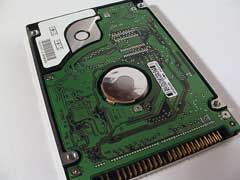
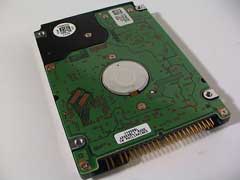
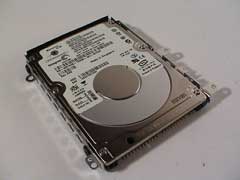
Hard Drives
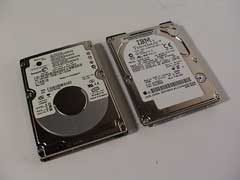 |
 |
 |
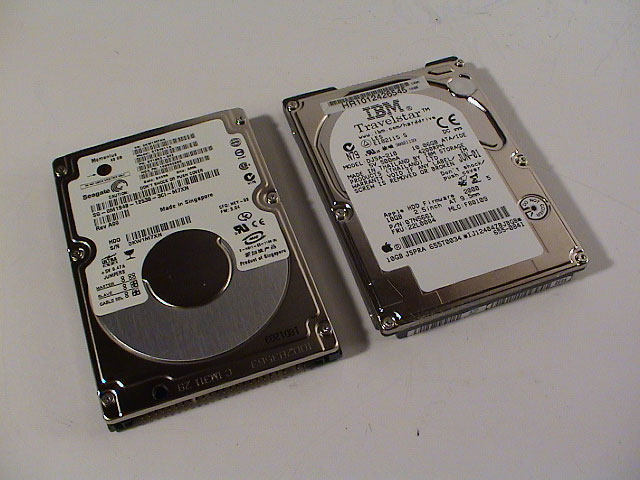
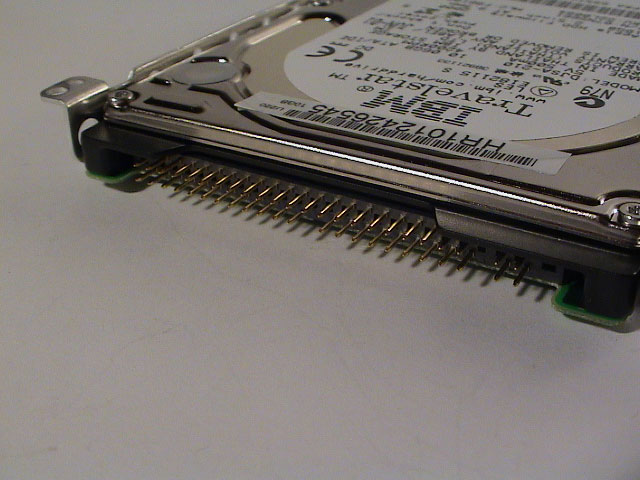
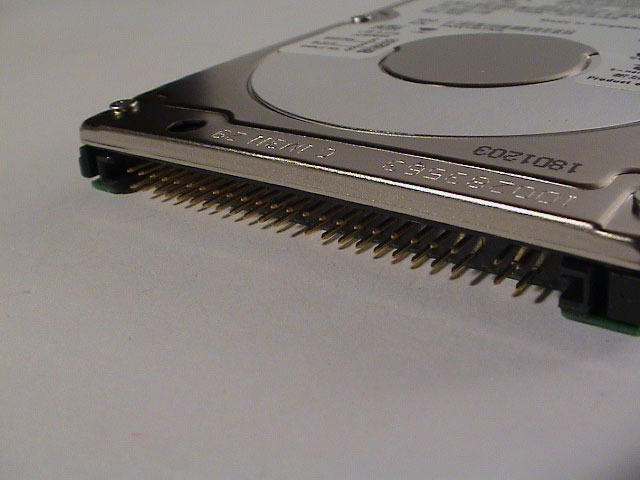
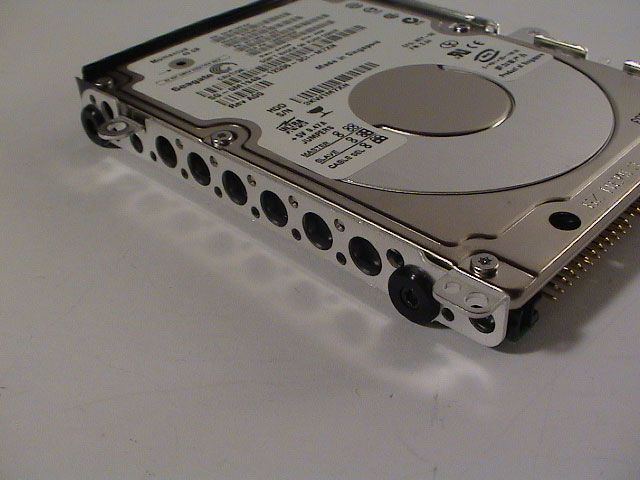
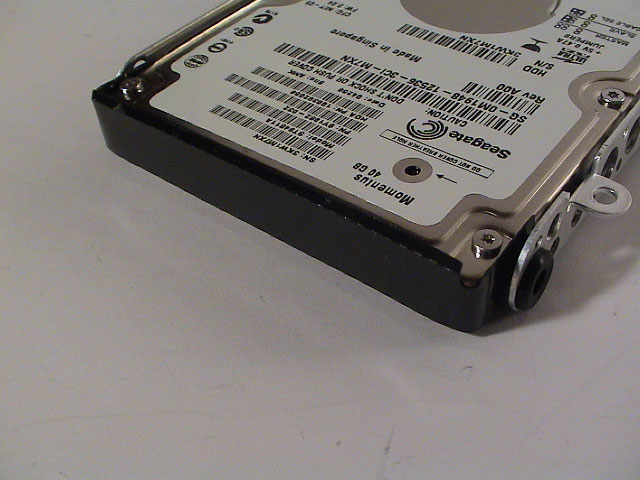
| Side by side; Seagate left, IBM right. |
Seagate ST94811A |
IBM DJSA-210 |
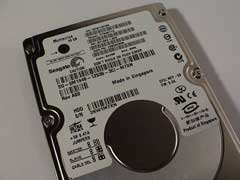
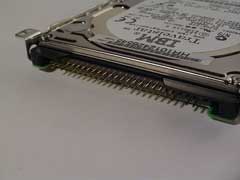
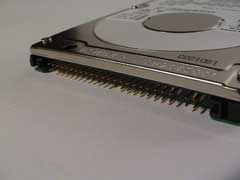
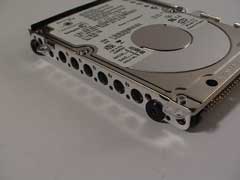
 |
 |
 |
| Side by side; Seagate left, IBM right. |
Seagate ST94811A |
IBM DJSA-210 |
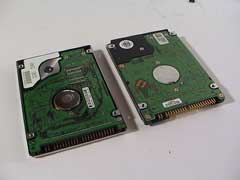
 |
 |
 |
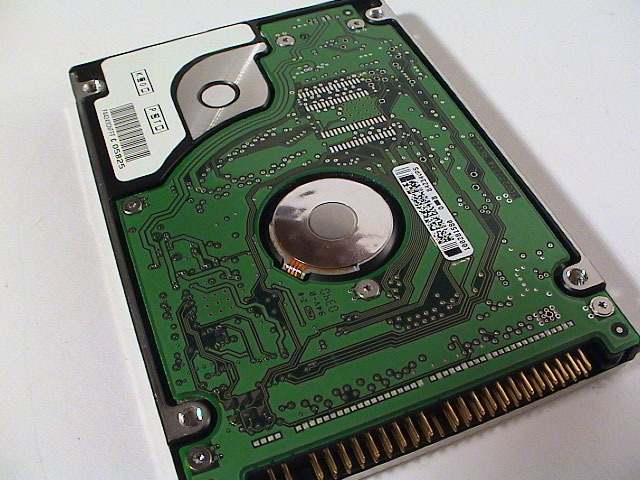
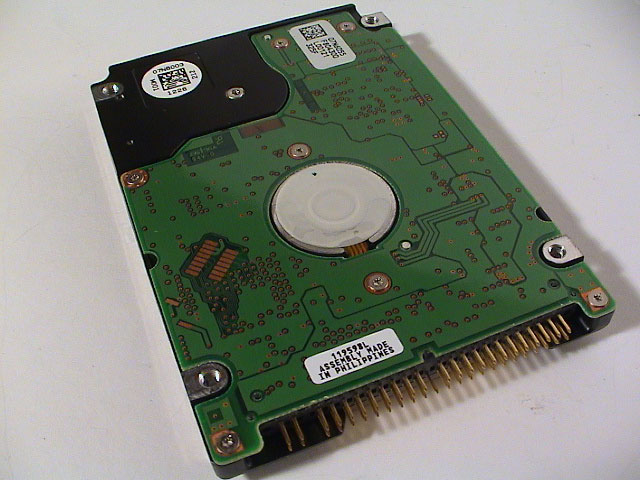
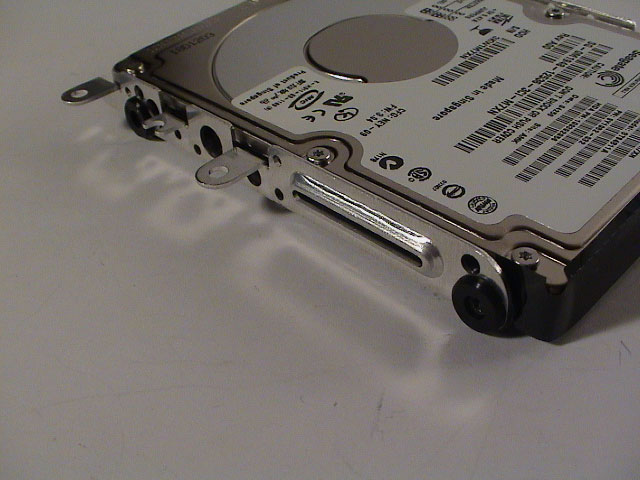
| Interface on the IBM drive. |
Interface on the Seagate drive. |
I noticed that there are two possible ventilation holes on either side of the interface. Unconfirmed though. |
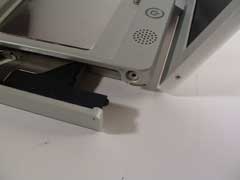
New Hard Drive
 |
 |
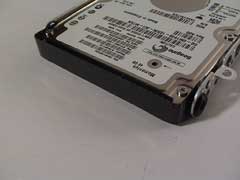 |
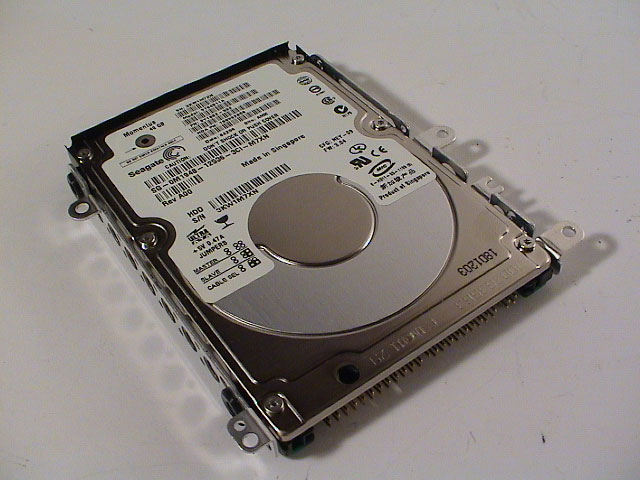
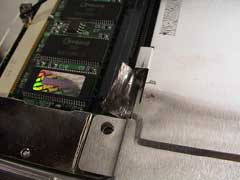
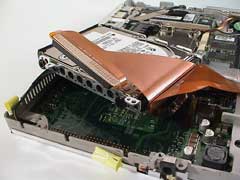
| Drive with the brackets attached. Use T8 torx screwdriver for the screws. |
Left side. |
I think the black plastic strip is used to protect the drive from being in directly contact with the ventilation holes. |
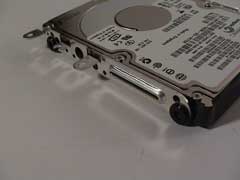 |
 |
 |
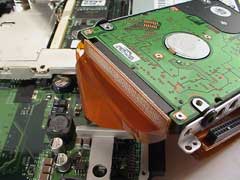
| Rigt side. |
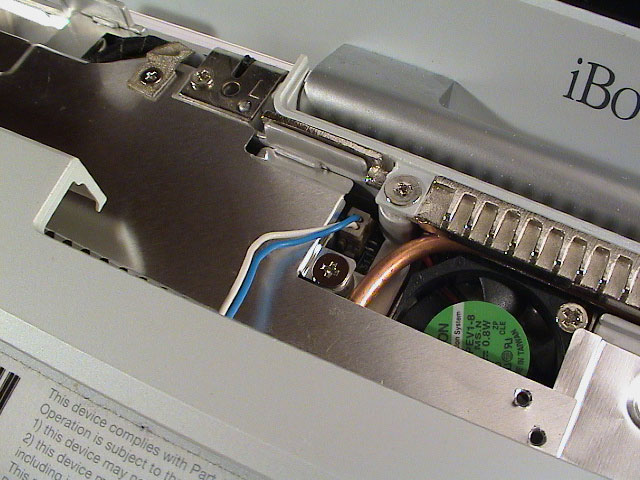
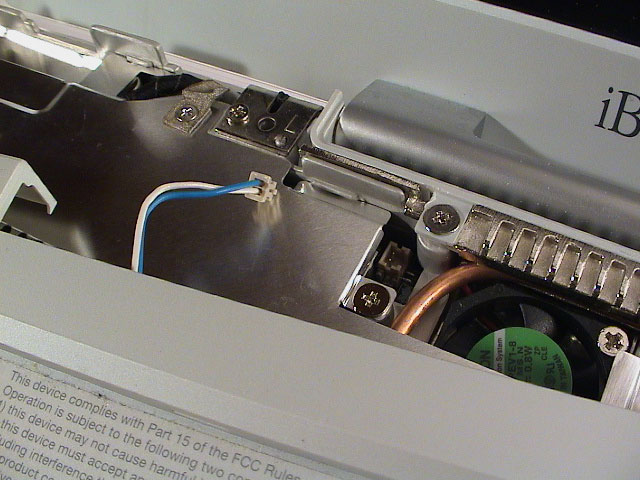
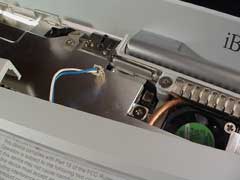
Reattach the microphone cable and tape it down. |
Installed successfully. |
Ventilation
 |
 |
 |
| To make sure no ventilation is blocked, run the transparent loop close to the connector. |
No slack should be facing the front of the iBook. |
Lead the slack to the centre of the iBook where there's some space that's not blocking ventilation. |
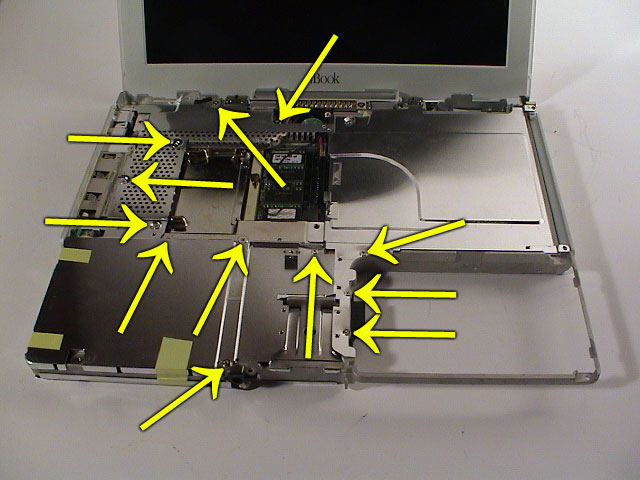
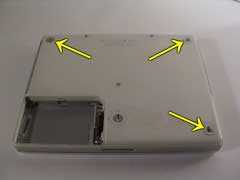
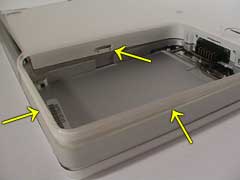
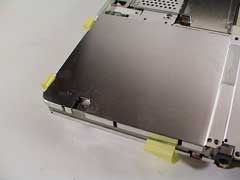
Additional Bottom Overviews
Re-assembling
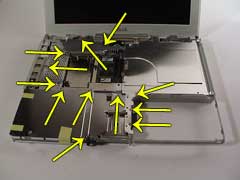
When you re-assemble the iBook and happen to forget where some of the screw locations are, there is a great section in the service manual showing all the screw locations.
Performance
Noise
Audiable wise the drive is a tiddy bit less noisier than the old IBM drive when operating, but it still accentually resets creating a noticable disk read/write noise.
Heat
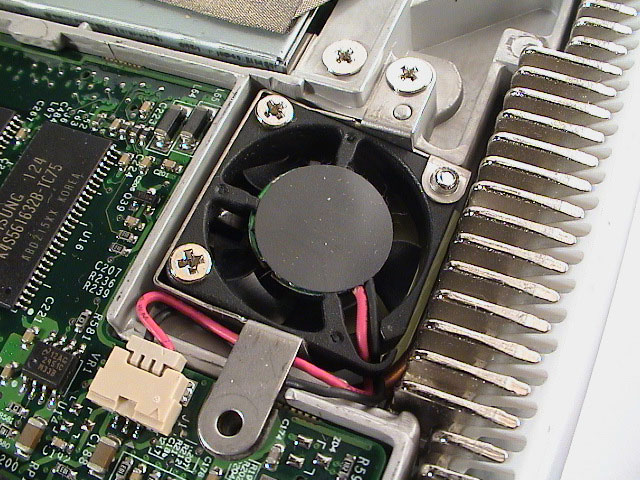
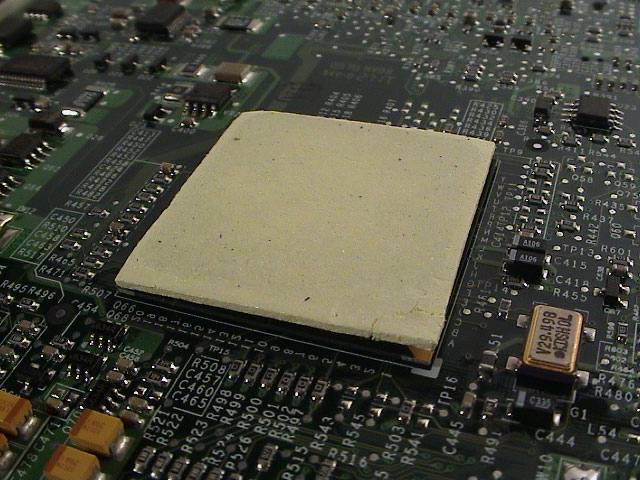
Since the hard drive is sitting directly above the system controller I didn't notice any heat increase or decrease. The system controller is generating a lot of heat and it's poorly ventilated with only a heat transfer patch between the bottom shield and the chip.
Anyway, it's certainly generating so much heat that it get's uncomfortable after a while when it's sitting on my lap.
Transfer speeds
I used IOzone to benchmark the drives. IOzone is a filesystem benchmark application creating a detailed throughput report. The output data can be used to create advanced graphs for easier analysis. IOzone has been ported to multiple operation systems and architectures, check the references.
I ran the suggested command-line from the OS X port page.
| ./iozone -i 0 -i 1 -Rab output.wks |
The benchmark process is time consuming, so it's best to find something else to do for 15-30 minutes in the mean while. My iBook has a total of 384 MB of RAM installed and it will make a distinct impression on the benchmark when it hits that mark.
Revisions
- 2004-12-15 00:21: Initial version finished
References
Installing HD Replacement [pbfixit.com]
iBook 500 HD Replacement [utexas.edu] [pdf]
IOzone for Mac OS X [hut.fi]
Iozone Filesystem Benchmark [iozone.org]