T68 Dissambling
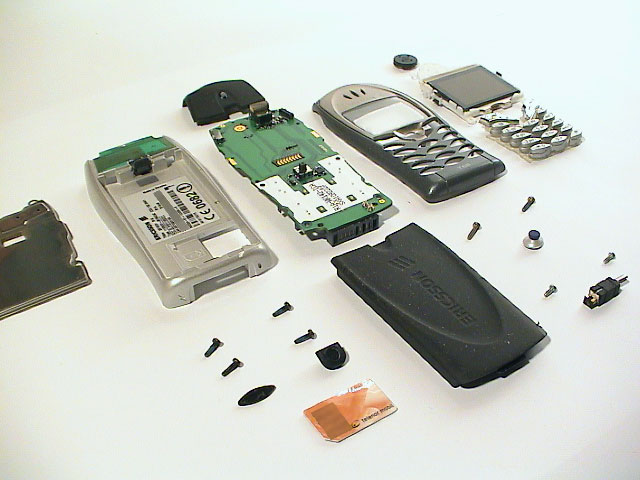
First off, dissambling the T68 was much easier than I imagined. I've never dissambled a mobilephone before this one, and later on I've replaced the screen and fixed the volume leveler on a Nokia phone without too much hurdle. When the T68 is fully dissambled you should've a total of 22 major pieces including screws.
Dissambling
 |
 |
|
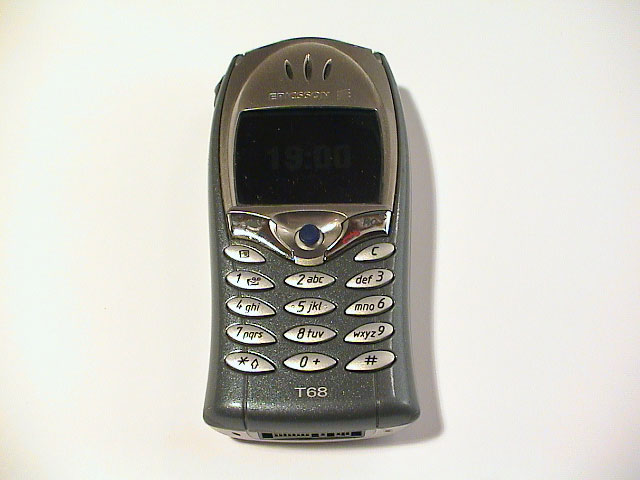
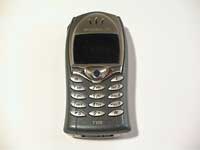
| The phone. |
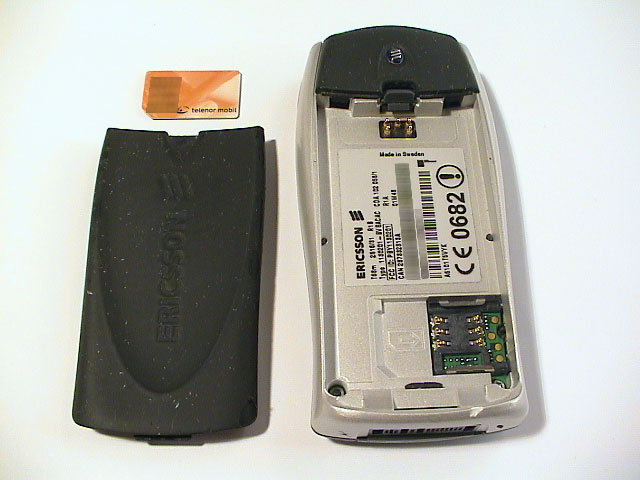
Remove the battery and the simcard as you usually would. |
|
Front Cover
 |
 |
 |
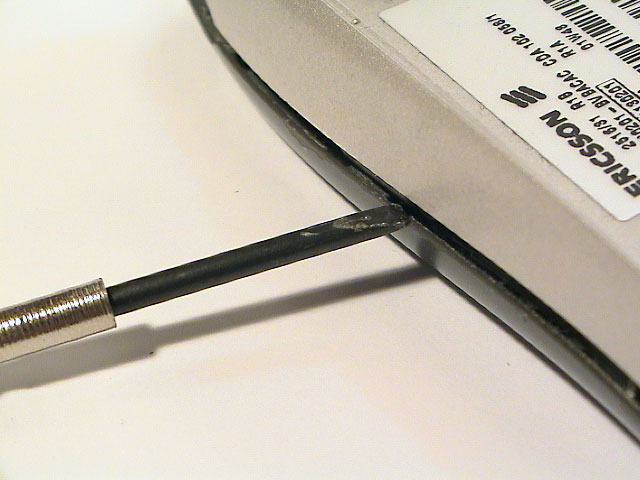
| On top of the phone, crack open the antenna cover. |
Use a torx X screwdriver to remove the top and bottom screws. |
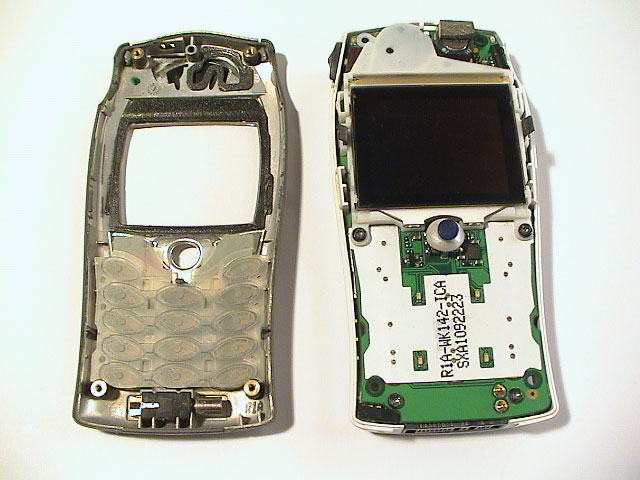
Using a small flat screwdriver, carefully insert it on either side to remove the front faceplate. |
 |
|
|
| Front faceplate successfully removed. |
|
|
Back cover
 |
 |
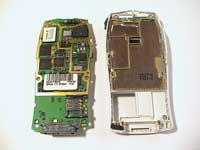 |
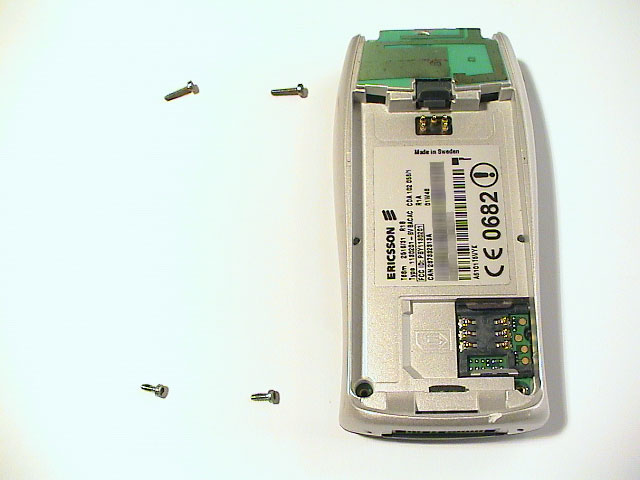
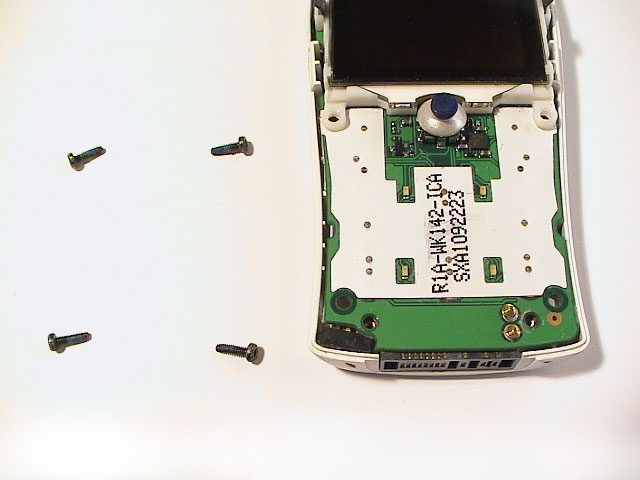
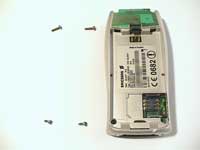
| Remove the four torx screws around the dial pad. |
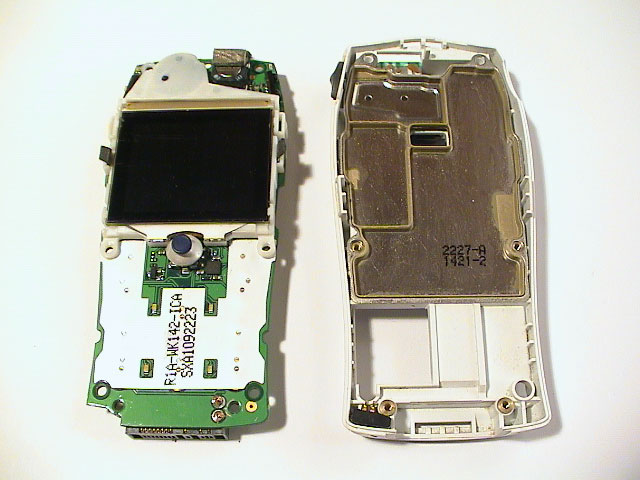
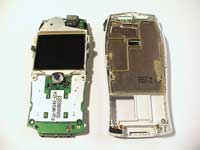
Back cover successfully removed. |
Another view of the circuit board. |
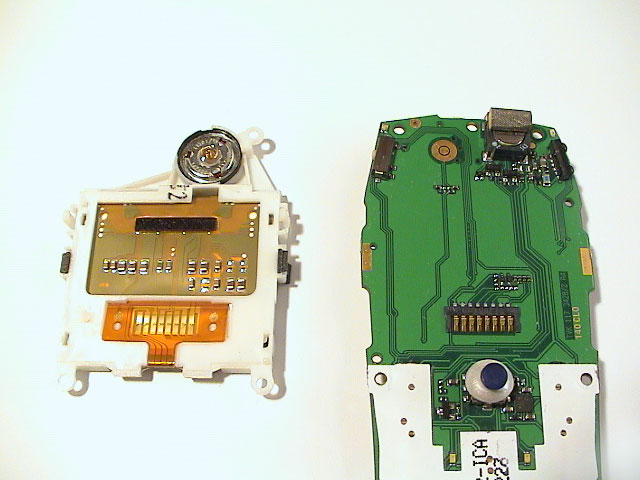
LCD Screen and Internal Speaker
 |
 |
 |
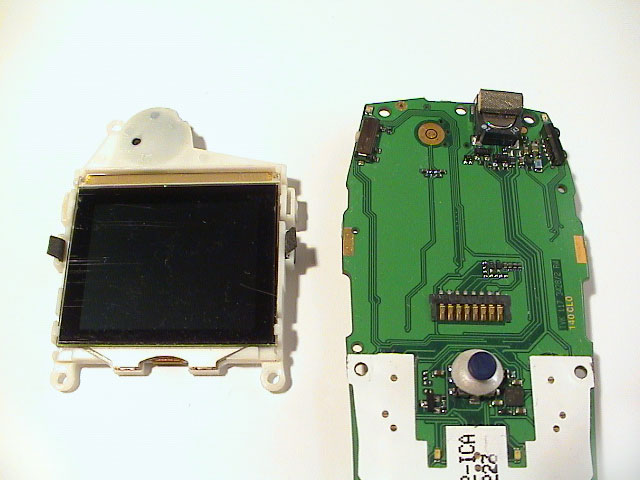
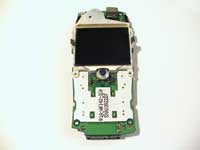
| On both side of the lcd screen there are two plastic tabs, bend then outward using a flat screwdriver. |
LCD screen removed successfully. |
Backside of the LCD screen, notice the internatl speaker on top. |
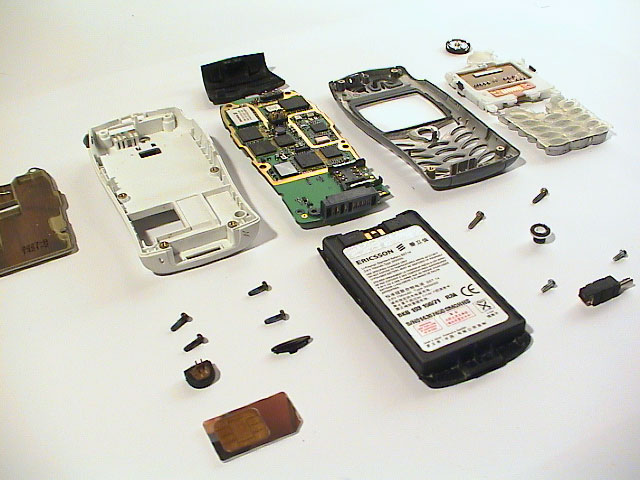
Parts Overview
 |
 |
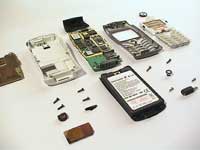 |
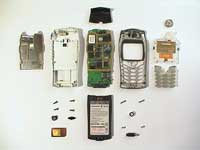
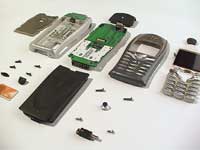
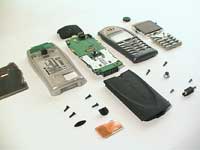
| Overview of all the major parts, showing the backside. |
Another angle. |
Another angle. |
 |
 |
 |
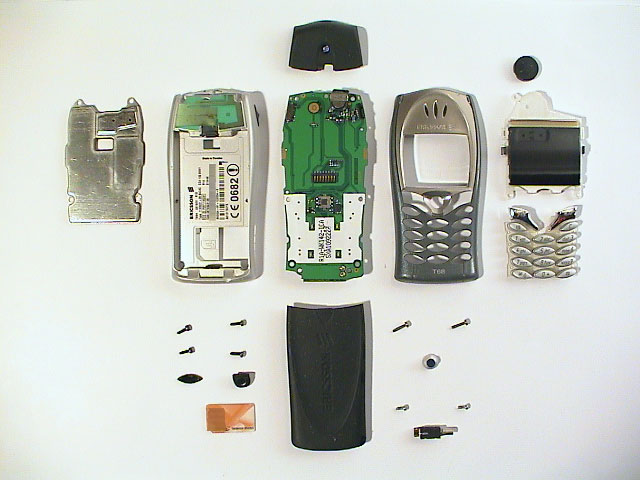
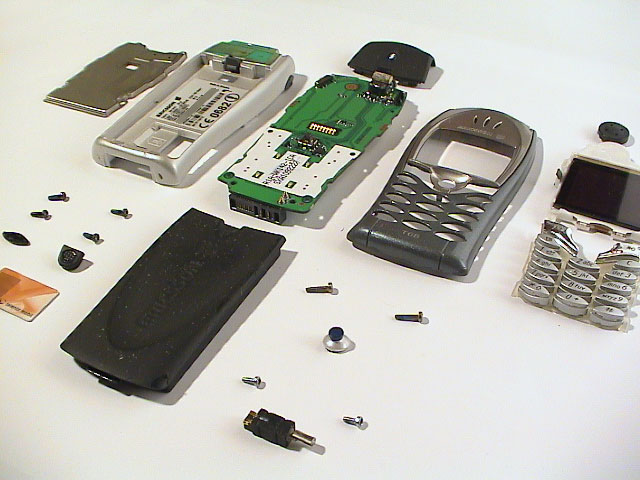
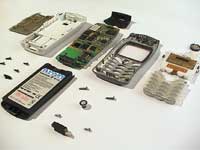
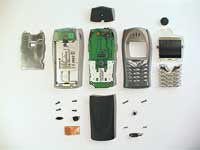
| Overview of all the major parts, showing the frontside. |
Another angle. |
Another angle. |
Reassembling
As usual, reverse the procedure to reassemble the phone.
Revisions
- 2004-10-25 19:20: Initial release